How To Install The Scripts / Applications In Vesta Control Panel
Vesta Panel is of the most popular open source control panels are used for managing the websites on VPS and Dedicated Servers. Vesta is light weight, easy to handle and user friendly, but one important thing is missing from this control panel. That thing is installing the scripts like WordPress, Joomla and Drupal in a single click.
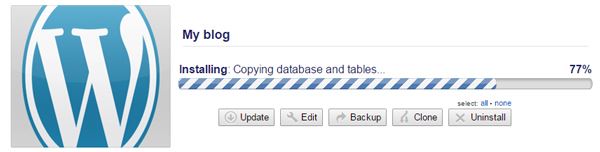
Most of the people want to install the scripts and applications on their website in a click. In this tutorial we provide the solution to installing more than 300 scripts in a single click. For the demo, we install WordPress for a website hosted by Vesta Control Panel. It will be take few minutes to complete the script installation on a website.
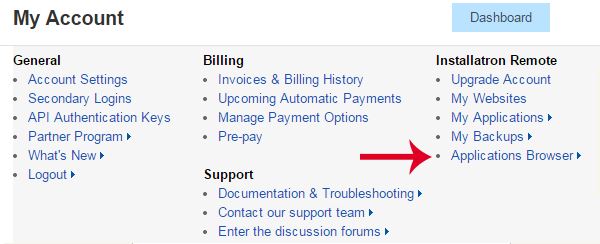
Installatron is a web based remote application installer for installing application into any website via FTP access. We need to create an account on this website for installing the applications. Follow theese steps after create an account at Installatron.
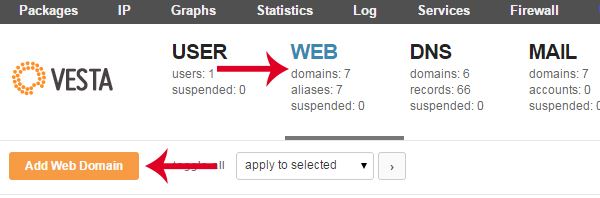
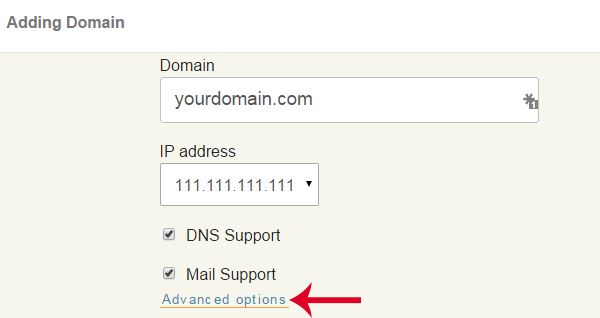
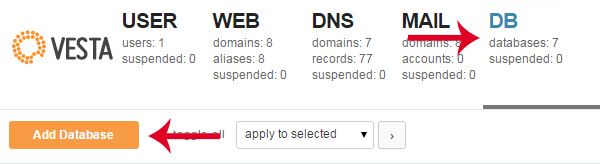
At first, You need to add a domain name,create an FTP account and create a database in vesta control panel.
Steps
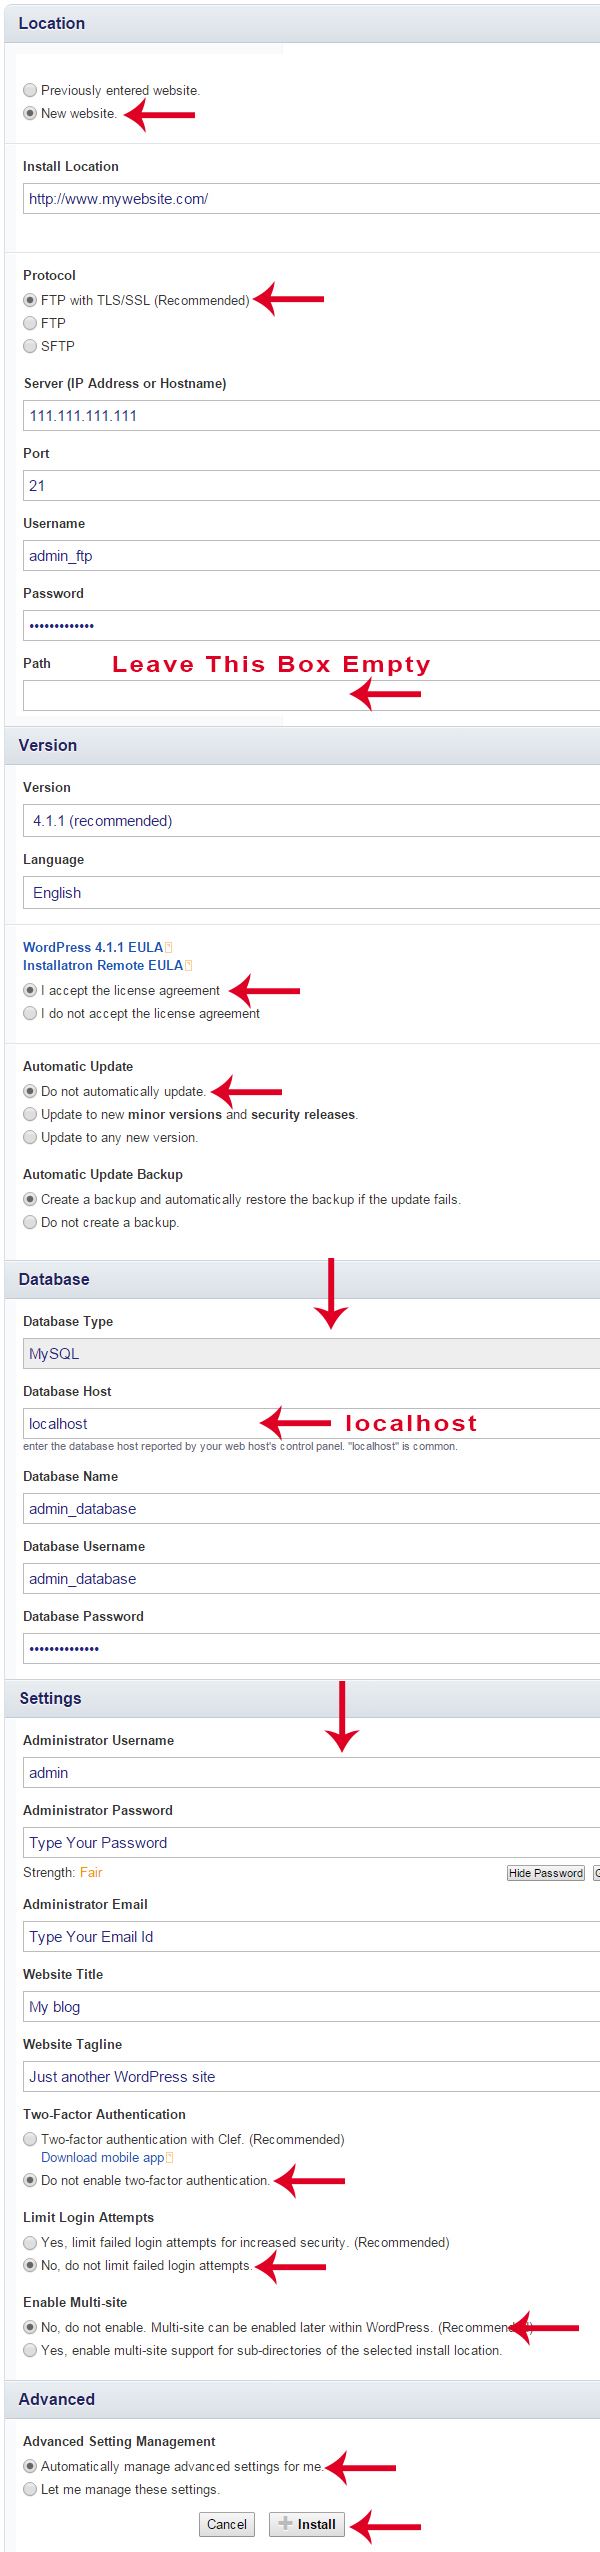
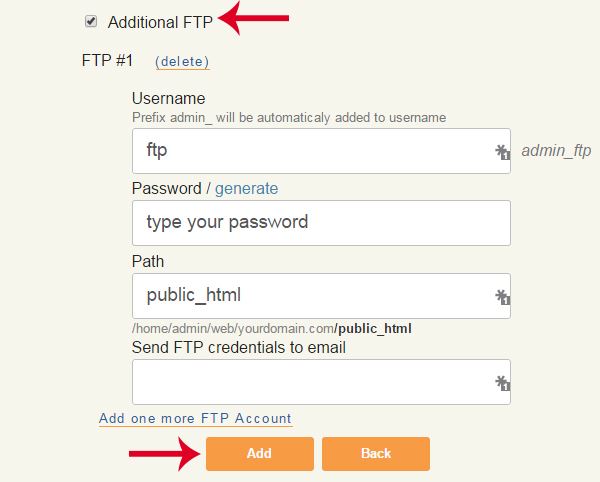
If you enter ftp in the username field, your ftp username will appear like admin_ftp.
Enter public_html in the path field.
Your domain and ftp account will be added successfully once you click Add button.
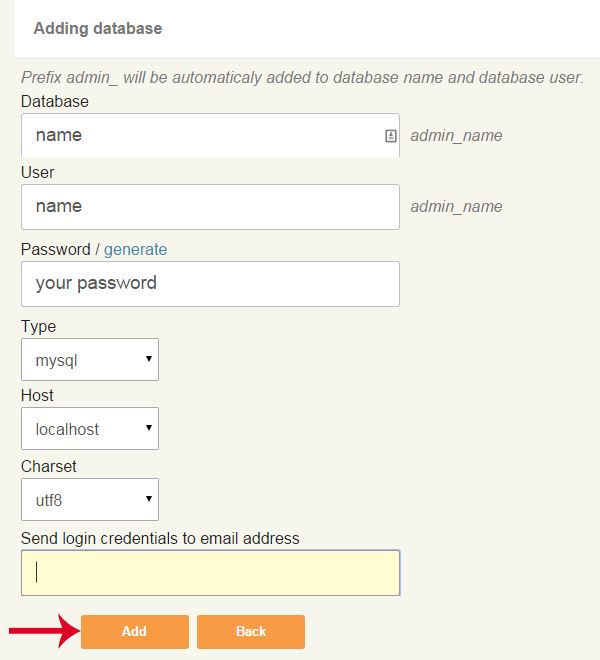
Once you click Add button, database and database user will be created successfully.

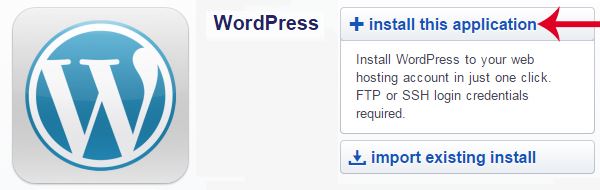
Click Install to start the installation.