How To Add The Google Adsense in WordPress
WordPress is the best platform for running the Adsense websites easily without any advanced programming knowledge. More number of blogging websites and news websites are using WordPress as a backend application. We need to place the Adsense ads in the perfect placements for getting the good income from the Google Adsense. This tutorial will help you to add the Google Adsense ads in right placements.
1 Login to your WordPress and click the Add New inside the Plugins menu.

2 Search for Quick Adsense and click Install to Install and activate the plugin.

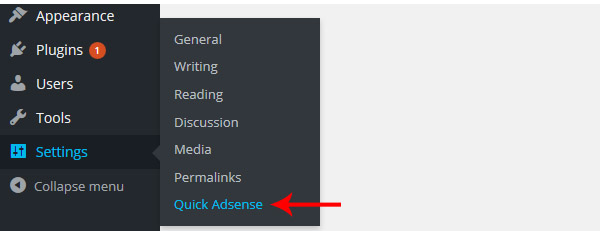
3 Quick Adsense will be appearing in the Settings menu after installed and activated the plugin successfully. Click that menu to open the Quick Adsense’s options page.
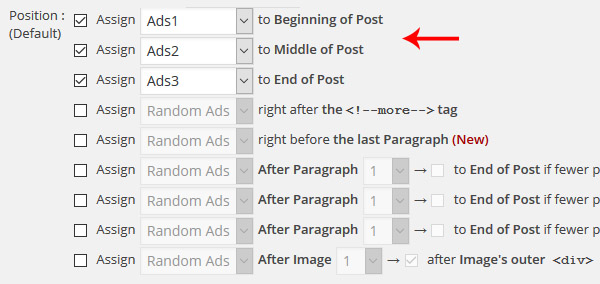
4 On Quick Adsense page, Ad placements and ad display options are available to setup and display the Google Adsense ads on your WordPress website.
You can display the Google Adsense ads below the title, before the post, after the post, after the image, after 1st paragraph, after 2nd paragraph, middle of the post and more placements by using the options in Quick Adsense.
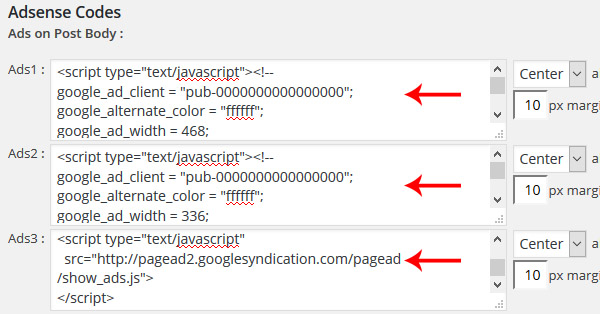
5 Paste the Adsene Codes in the ad boxes available below and press save button to save the changes. Ads will be start appearing in your posts after you have clicked the save button.
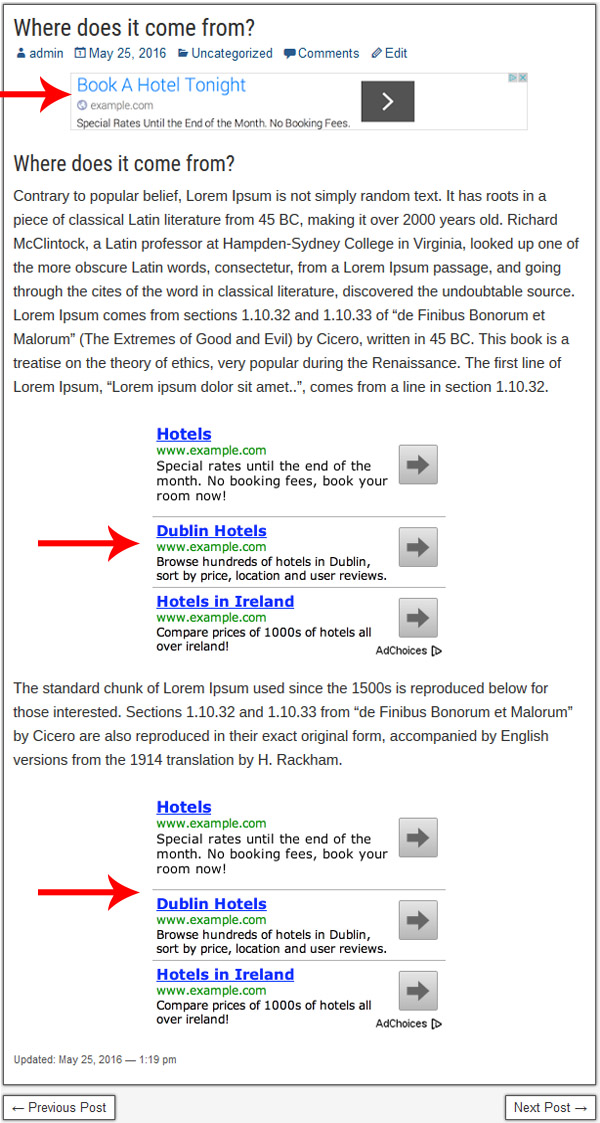
6 This is the preview how the ads will display inside the post.
7 For displaying Google Adsense in the sidebar of a WordPress website, click Widgets available inside the Appearance menu.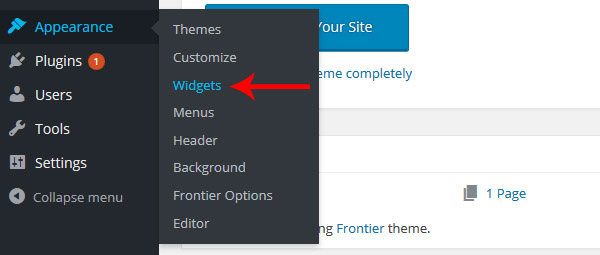
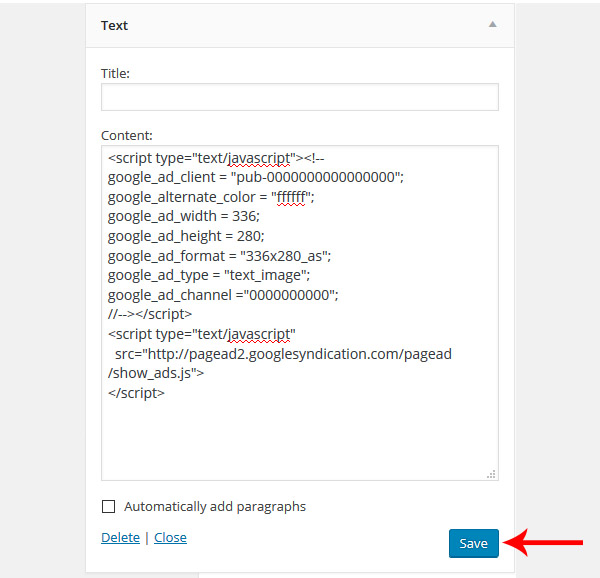
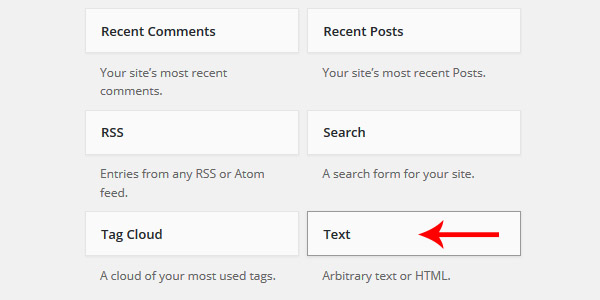
8 Find and click the Text widget available on Widgets page.
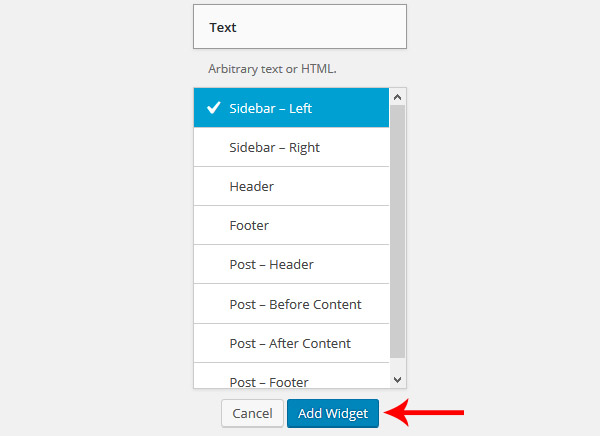
9 Select the sidebar you want to display the Google Adsesne ads and click Add Widget to add the widget to the sidebar.
10 Open the Text Widget added in your sidebar. Paste the Google Adsense adcode and press save to start displaying your Google Adsense ads in sidebar.