How To Add A Website To CloudFlare
 We are already known Cloudflare is a free content delivery network who provides the protection to the websites for free of cost. Cloudflare is not only used for protecting the websites from attacks, it’s also known as to decrease the server load and supercharge the websites with awesome speed. Follow this tutorial to find out how to add a website to CloudFlare.
1 Visit http://clocudflare.com and click the Signup link to open the CloudFlare registration page.
2 In registration page, enter your email id and a password twice to create a CloudFlare account.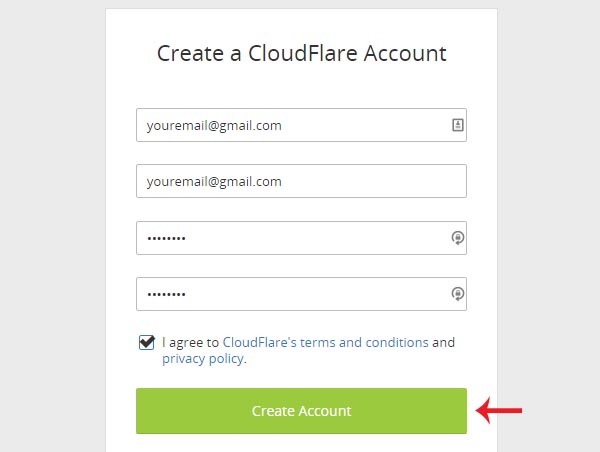
3 Enter your website name and press Scan DNS Records to scan the DNS entries of your website.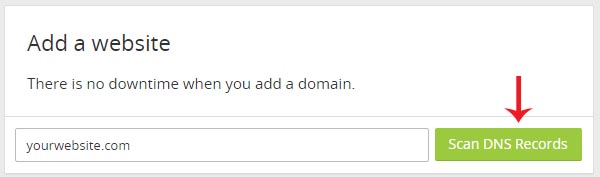
4 Press Continue after the scan got completed successfully.
5 DNS Entries crawled by the CloudFlare will be appear like the image given below. If any DNS entry got missing, you can add that entry by the Add Record option. Click Continue to save the DNS settings to CloudFlare.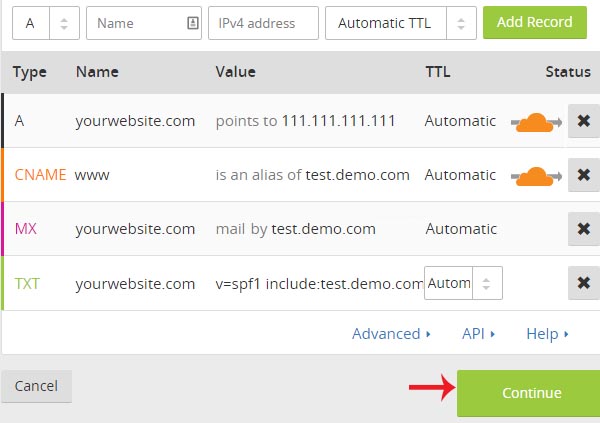
6 If you want to continue the CloudFlare service for free of cost, select the Free Website and press Continue.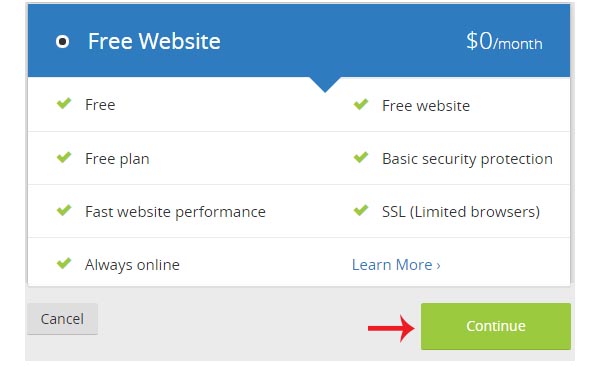
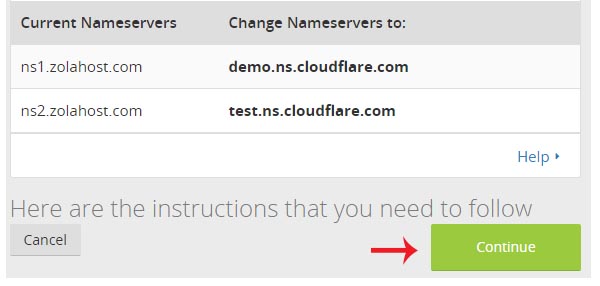
7 In the final step, Cloudflare will display their nameservers for replacing the current name server of a domain name you have added. You need to update the CloudFlare nameservers to live the website through the Cloudflare.